This
post outlines a workflow for upgrading an existing junction using
Civil 3D. The incoming and outgoing lanes of the junction are to be
widened to accommodate HGV movements while maintaing the existing main
road crossfall along the widened portion.
First
lets take a look at the existing junction...

First
create centreline alignments for both roads and create surface
profiles for each sampling existing ground. Next use the junction
design wizard to create our proposed curb return and offset
alignments. We are only going to use the horizontal curb return
geometry created by the wizard – untick the options to create curb
return and offset alignment profiles...

...and also the option to create the corridor.

...and also the option to create the corridor.

A
warning message appears to inform us that we are using dynamic surface
profiles. Continue with the dynamic profiles.

The
wizard creates offset and curb return alignments...

The
curb return alignments rely on the offset alignments for their
geometry. In order to be able to edit and stretch the curb returns to
suit our design we will first have to stretch out the offset
alignments to give ourselves enough room to work with.
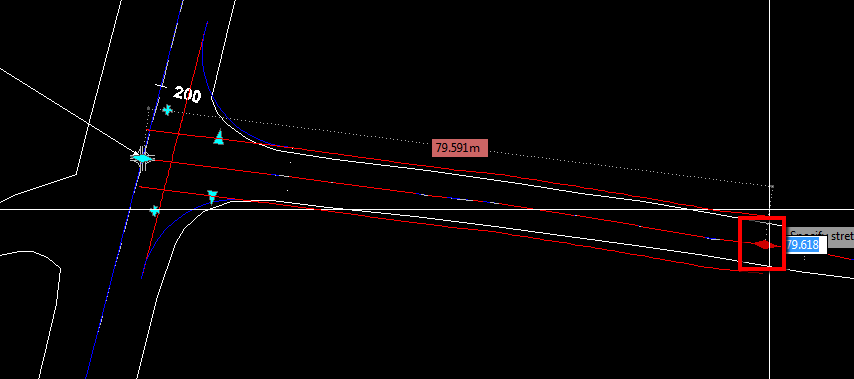
This
needs to be completed for both roads. Next we add turn in lanes to
the junction to model the widenings. Select the junction marker and
select edit curb returns from the ribbon. Tick to add widen lane for
each of the incoming lanes for both curb returns.

Completed
curb returns below:

Next
we need to extend out the existing main road cross fall so that we
can determine the levels along the widened curb return alignments. To
do this we create a temporary corridor using the widenmatchslope subassembly.
This will allow us to target the existing road surface at the crown
and existing road edge and then continue this slope out wide enough
to extend past the new widened section - giving us our proposed levels along the widened alignments.
First
create the assembly:

The
assembly properties are set as below:

Most
of the values are set to zero - we are going to use corridor targets
for the insert and sample points. We are not overlaying the existing
road and we are not adding a widen lane with this assembly so these
values are set to zero. The only value we set is the width for the
widen portion, this is set at a value that will be wide enough to
cover the widened area. Setting a number of values to zero like this
will result in a strange looking layout assembly. The appearance of
this is not important, it is the behaviour we are interested in.

Create
a temporary corridor using this assembly, the main road centreline
alignment and existing profile. In the target mapping set the insert
point as the edge of existing road and the sample point as the
existing road centreline for both the width and offset targets. Also
target the existing ground surface.

The
temporary corridor can be seen below:

Now
create a surface on this corridor and set style to all off. To ensure
that our corridor is extending the existing road cross fall correctly
we can project the corridor surface onto our side road profile and
check as below:

We
then create a profile along each of the curb return alignments
sampling both the existing ground and temporary corridor surfaces.
This should look something similar to below:

We
can see the existing ground surface profile in green and the corridor
surface in purple. We need to manually draw our design profile using
these as a guide. On the left in the profile above we can see where
the NE curb return is running along the edge of the main road. The
existing road surface is blank for a portion where we are outside the
extents of the survey and then on the right we see where we are tying
back into the side road. When drawing our design profile we can trace
over the temporary corridor surface and tie back into the existing
ground at the end of the curb return on the side road. See below:

Repeat
this process for the SE curb return. Next we create a curb return
assembly.

This will need to contain a subassembly with the ability to target horizontally and vertically. We then build our junction corridor using the curb return alignments as the baselines. The first pass of the NE curb return corridor below:

This will need to contain a subassembly with the ability to target horizontally and vertically. We then build our junction corridor using the curb return alignments as the baselines. The first pass of the NE curb return corridor below:

We
need to set two corridor targets - the existing main road edge
(surveyed 3D polyline) and the side road alignment and profile
These
two targets can be added together - the default behaviour is that
Civil 3D looks for the nearest one. Set these for both the horizontal
and vertical targets.

Complete
the SE curb return in the same manner and the finished corridor
appears as below:

No comments:
Post a Comment